
Social Media is a powerful tool to drive interest in your brand, it creates organic interaction and drives more customers to you. One way to increase your audience is by adding a location, this makes your post easier to find, gives you better insights into followers, likes, and comments, as well as drive a local audience closer to your business.
To use it, you need to create a post from scratch start by clicking “New Post” in the top right corner. Select “Create New Post”, alternatively, there's also a "Create New Post" link at the bottom of your posts list.

Select the socials you want to post on.

Add the content as normal, type in your caption and hashtags, or click the robot icon to use the AI tool to aid you in the content creation. Get creative with adding formatting elements like bolded and italicized text. Or add media by clicking on the camera/picture frame icon.
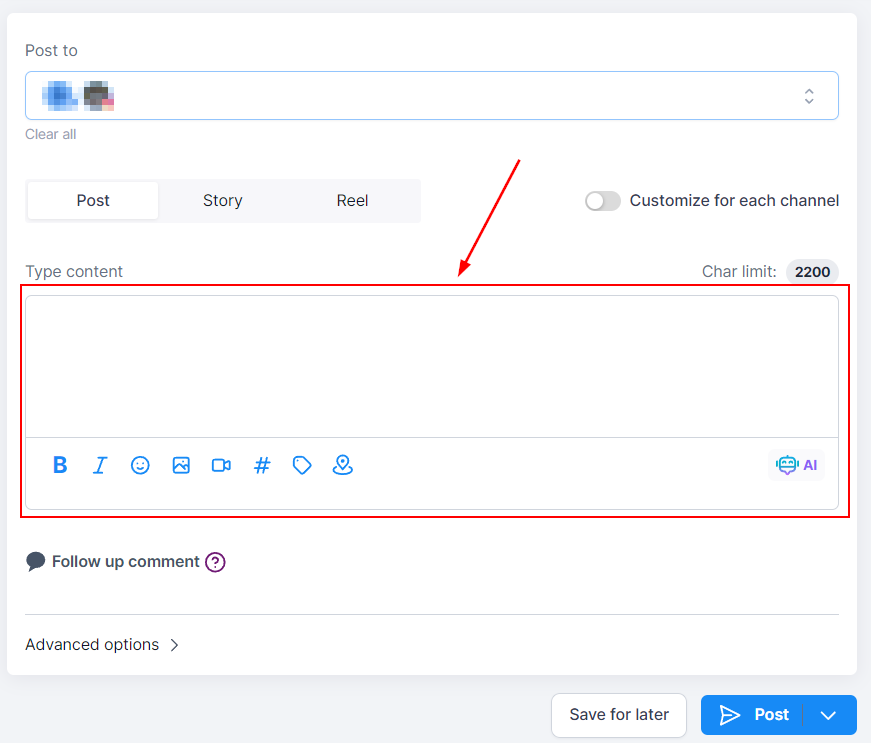
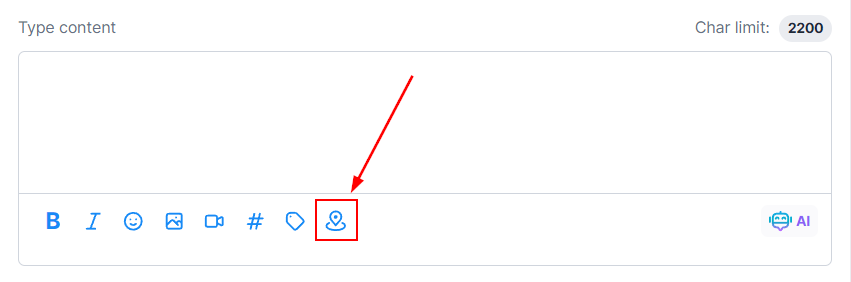
Click on the pin icon to add the location, here you can tag the place or location of your post. Keep in mind this feature is only available for Facebook and Instagram.
This will open a pop-up for you to search for the desired location. Once you've selected it click save to add it to the post. You will have to pick a location for each social, for example when doing FB and IG you'll have to select a location for each.

After saving you can see the location in the preview.

Once you are happy with your post click on the Post button, it will give you the options for the next step with the post. These will be:

After selecting the next step you're done! Your posts will now be tagged with the location helping you drive engagement up, making them more visible, and creating targeted marketing for anyone close to the location.
For New Posts
To create a post from scratch, start by clicking “New Post” in the top right corner. Select “Create New Post.” Alternatively, there's also a "Create New Post" link at the bottom of your posts list.

Select Facebook as the social media platform on which you want to post.

Write in your caption and hashtags, or click the robot icon to use the AI tool to aid you in the content creation. We recommend keeping the caption short since it will be shown directly underneath the video.

To upload your video click on the camera icon, this will take you to your media library where you can select from already uploaded or upload a new video from your files.

The Follow-up comment lets you post an automated message after posting.

Scroll down to Facebook options, open the drop-down menu then select Reel as the post type.

You can preview all your content here before you post it.

Once you are happy with your post click on the Post button, it will give you the options for the next step with the post. These will be:

After selecting the next step you're done! Your video is ready to go. That's all there is to it. Now you can get your posting schedule organized and consistent helping you to grow your audience and reach new heights.
📌Important Notes:
The video has to be between 3 to 90 seconds and a maximum of 1 GB in size.
The aspect needs to be 9:16 or 1080*1920 pixels to a minimum of 540*960 pixels.
Thumbnail support is not available for Facebook Reels.